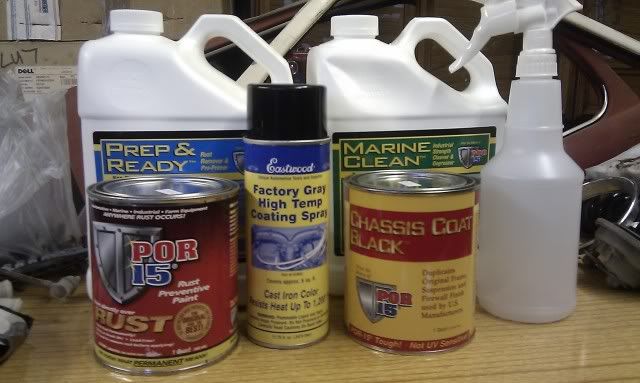
During the week I received a package full of restoration joy!
Thats what £130 gets you, but I need the lot for the bus, my bug and even for the racecar so it was hard to say no really. I realised that it's the first time I've ordered a bulk order of car stuff for ages and it felt gooood! Really got me fired to get things moving.
Today I had planned to spend working on the bus, and with the weather being very grey and damp I decided to have a weekend similar to the last one - and make some panels!
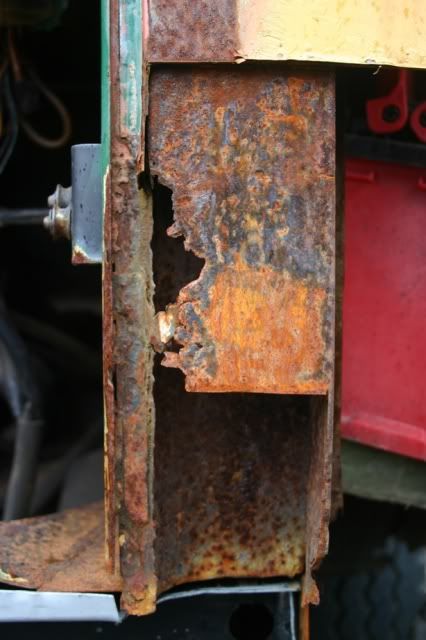
Having made the repair panels for the n/s rear vertical chassis member last week I set about on the opposite side. These both come into the inner rear valance, and so once I have everything together the whole lot can be welded into place. This is how the o/s chassis upright looks!
There are three pieces I need to make here. The curved inner section, the front facing section (which folds round and provides the securing lip for the rubber seal), and then the right angled lip which will become part of the rear corner.
I had started on the front piece (with the lip) at the end of last weekend. The shape was there, I just needed the lip. I found a suitably shaped tent peg which seemed to give me the curve I needed. It proved unsuccessful though, and with a panel now looking like this I decided I needed a Plan B!
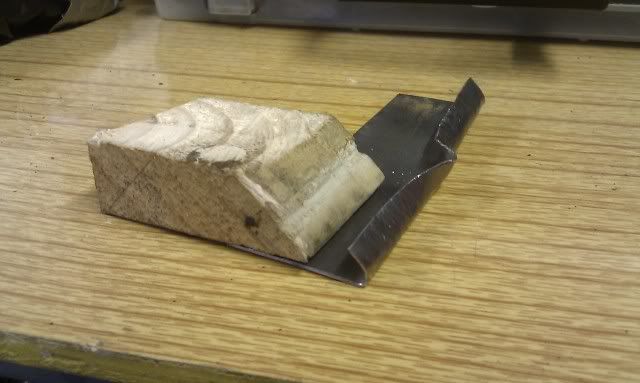
And so I chopped off the lip, and decided to make a section with the lip seperately, and then weld that onto the panel. I found myself a little block of wood which I shaped to give me the fold I needed. I then practiced on some small offcuts to see how it was all going to work out.
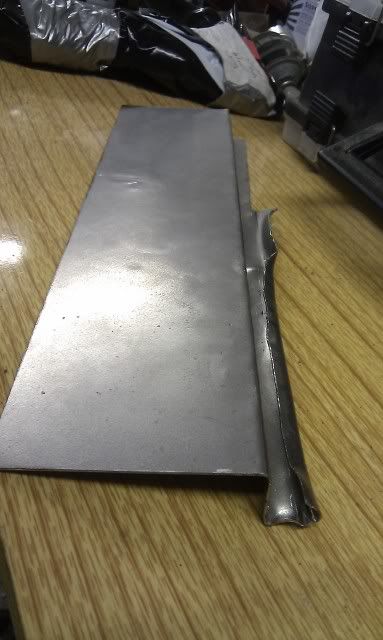
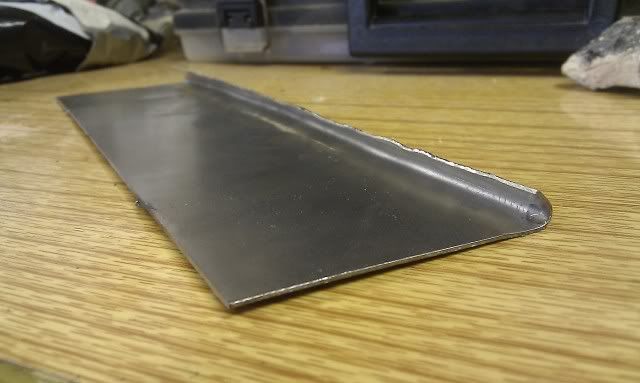
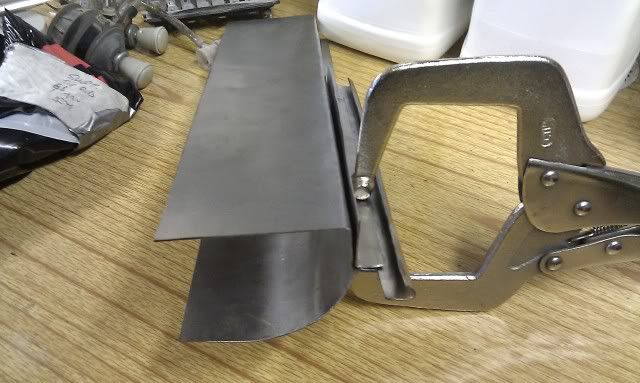
Feeling happy that I could get the lip I wanted I set about making the panel. Amazingly it went really well, even with my block of wood disintegrating as I used it! The return lip was more than I needed, and so with a quick trim it left me with a 'lip panel' looking like so;
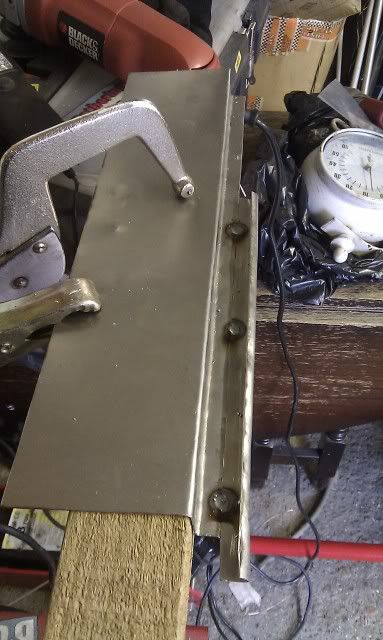
Feeling like I was now starting to get somewhere I took some measurements and chopped this panel down to give me just the lip I needed. I spotted the lip section in place;
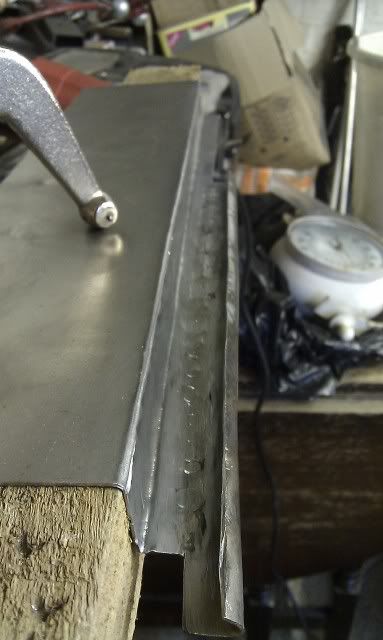
And then flipped it over to weld it in place. I welded on the back side so it would be an easier job to tidy up. As you can see this created the channel which the rear corner spots into, and then the rubber seal goes in. I gave it a quick tidy up and here's how she looks finished;
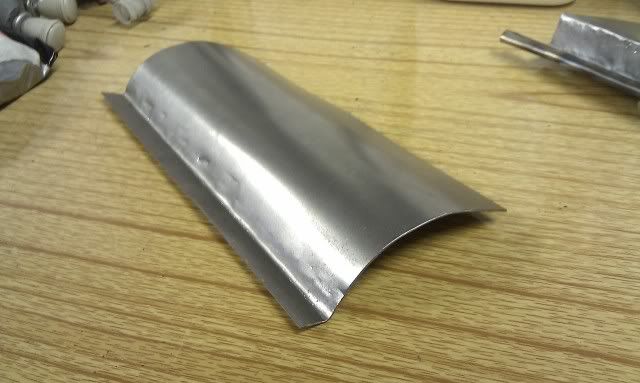
That panel really had me pulling my hair out, and it took bloody ages of messing about to get to somewhere I felt I could work with. Determined to keep things moving I then got the piece of scaffold in the vice and made the curved inner section of the upright;
And finally the right angled section (which will become part of the rear corner). When they all get stuck into place they will sit like so;
I'm feeling really positive about it all now, I just really need a weekend of warm weather so I can weld it all into place and treat all the metal.
Before that I have a small rear bumper conundrum to get to the bottom of - and then it's time for the weldathon!
No comments:
Post a Comment