Well after a few weekends were dashed due to the poor/changeable weather we've had recently I was determined to make good progress on Saturday. I couldn't really remember where I was at with things and so stepped outside to take a look at things. With the weather still being blustery and threatening rain I decided it would be a good day to make some panels so that I'm fully prepared for a better day when I can go mad with the welder.
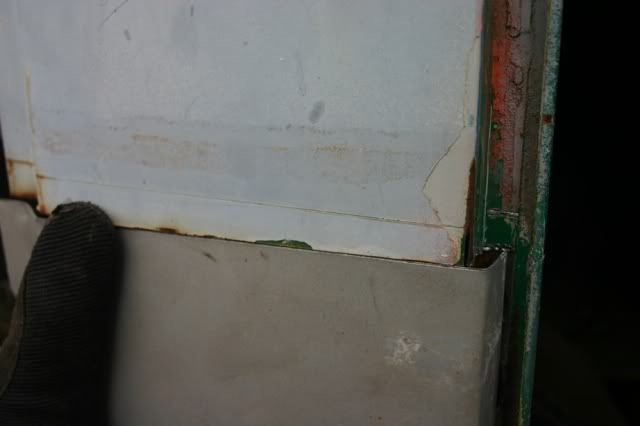
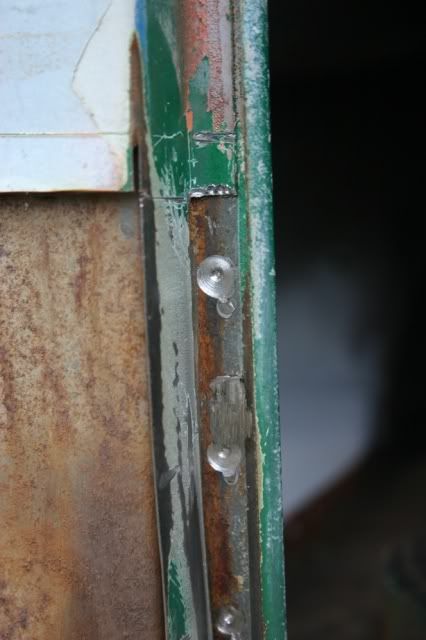
I decided to start on the section where the rear corner will come round to meet the upright chassis member. As you can see, there was still some of the old rear corner spot welded in place against the upright.
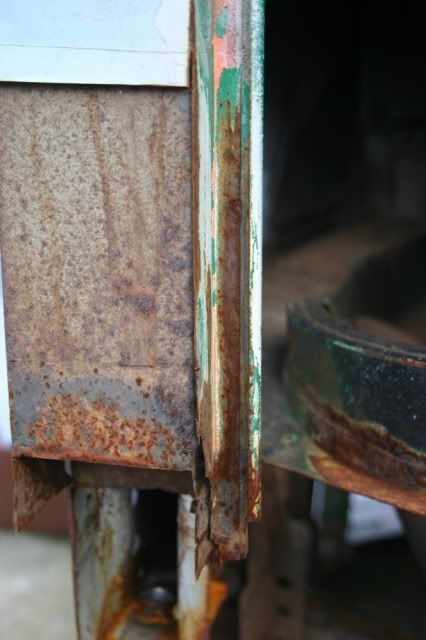
So I cleaned up the panel to reveal the location of the spot welds and got busy with the spot weld drill bit.
As this was a right angled piece I could see it would be hard to remove without it trying to fold on itself at awkward moments. Therefore I ran a light cut down the fold to I could remove the piece in two sections. This is mid way through removing the first section.
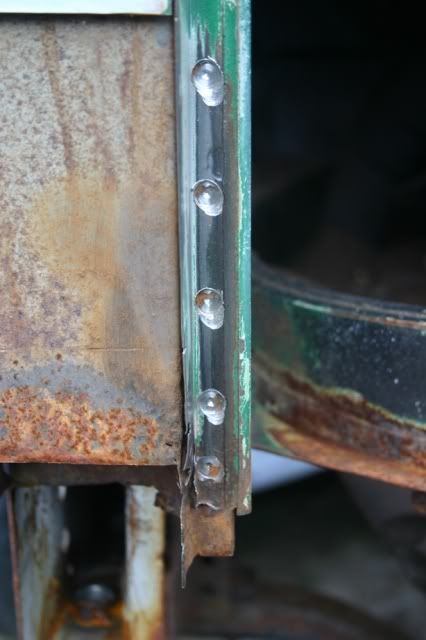
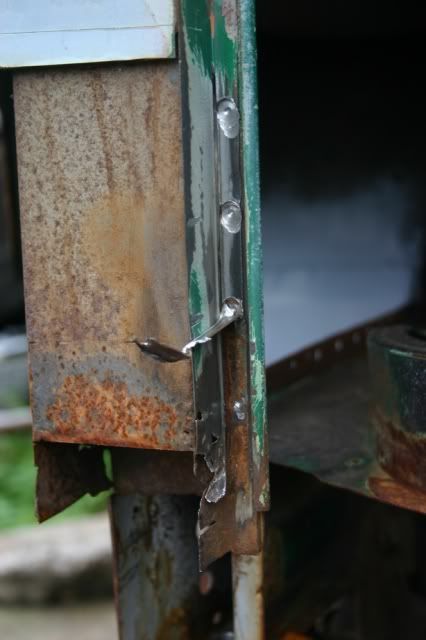
With the spot welds drilled out I was still left with a flapping piece of metal. I needed to make a horizontal cut, but had no access. I thought about this for a while, and really couldnt think of a tool or technique to effectively do the job. I ended up deciding to use a 1mm drill bit, and weld consecutive holes next to each other. I chiseled where I wanted the 'line' to be, and that helped secure the holes where I wanted them. Thankfully the plan worked, and the first piece cracked off just as I wanted.
And it worked perfectly for the second too!
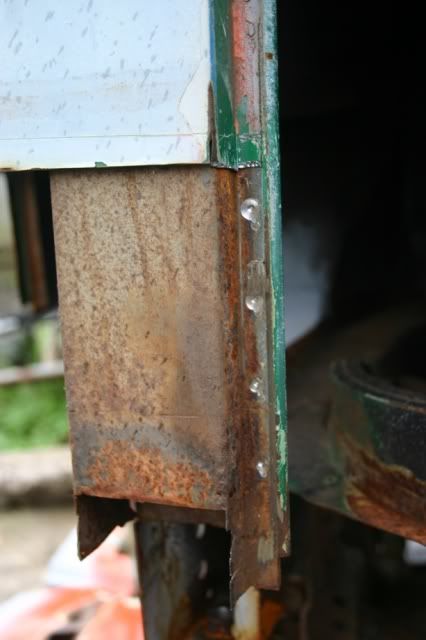
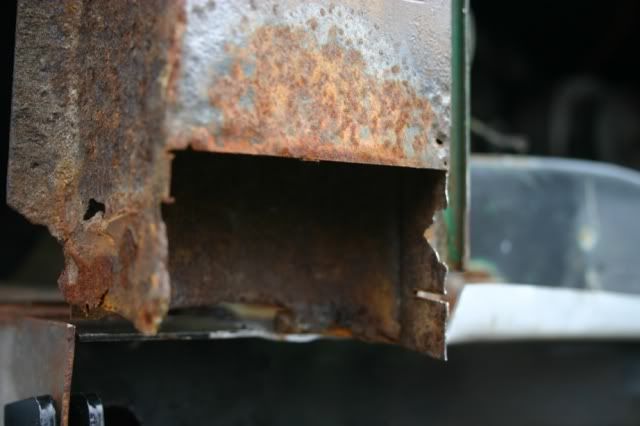
And this is why I needed to do it. You can see how the rear corner fits here. You can also see that it is missing the return lip (ie, the piece I just removed from the old panel)
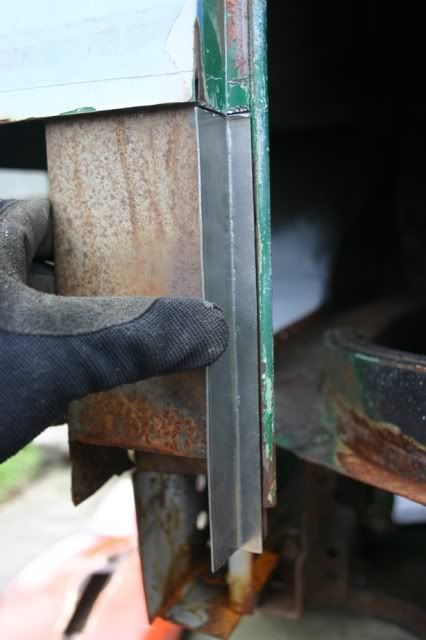
This repair panel is too 'long' so I could refold the edge to create that lip, but I decided to trim down the rear corner panel and make a new lip. Then I will weld the two together on the right angled join. This is the fabricated panel.
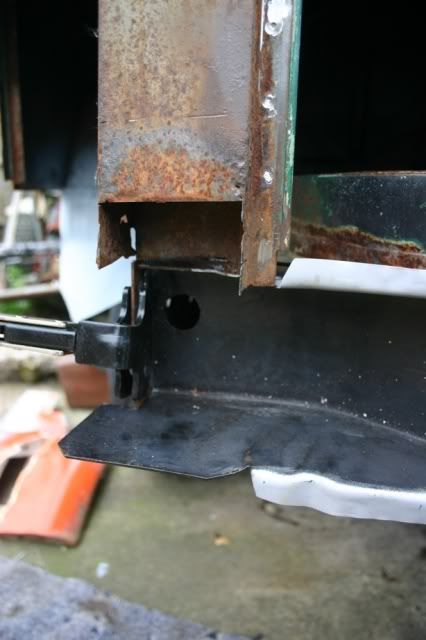
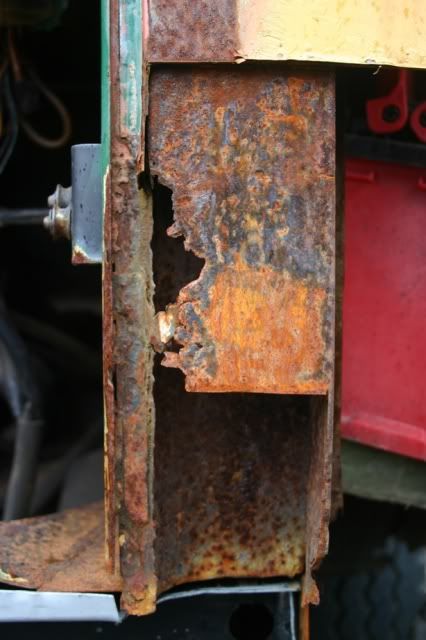
The next section I'm going to need is the repair pieces for the vertical chassis member. The piece where that repair panel I've just made will spot against. You can see it here, and the repair will need to take it down to mount inside the inner rear valance (clamped in place here for me to take some measurements)
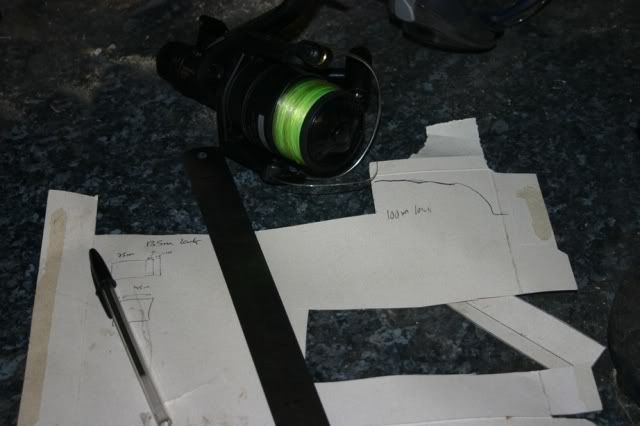
This is made of two pieces, one that contains three sides of the box with a lip at each end, and the other which is a lip, followed by a curved section to meet against the first piece. I decided to make this in 3 pieces, and break down the first piece into two. This is the original, which shows how it should be.
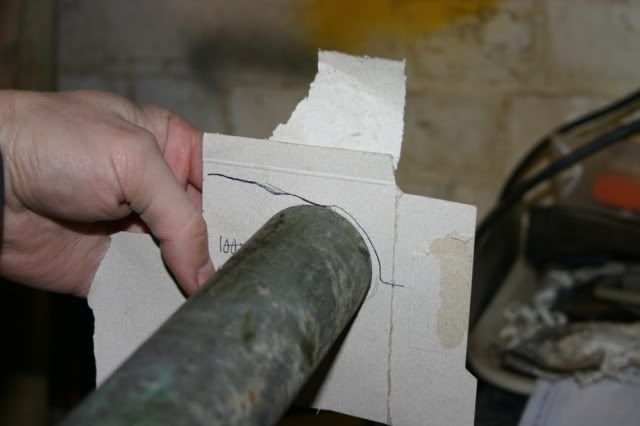
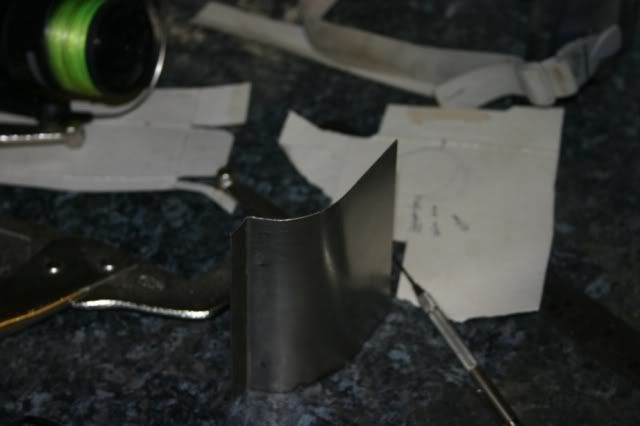
The hardest part was always going to be the curved panel. And so I started with that one. I noted down some measurements on a piece of card, traced the profile of the curve I needed, and got the fishing line out to accurately measure the length I would need to make that curved section.
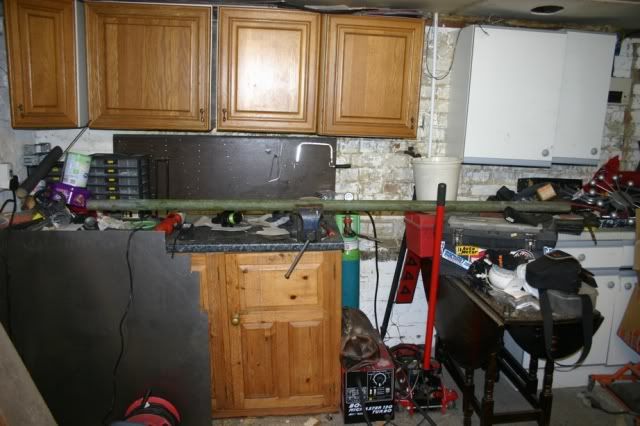
After a little hunt around I found a piece of scaffold that looked a bit handy!
And whacked it in the vice!
And a few moments later had a piece of metal looking like this;
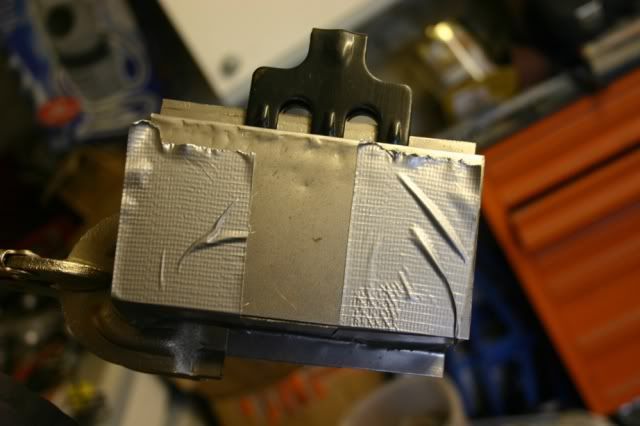
I then made the two angled sections. 90 degree folds, much friendlier to fabricate. With all three pieces sorted I clamped (and taped) them together to see if they were going to fit ... and make sure my fabrication was the same as my measurements! Thankfully its a perfect fit!
Feeling sure enthusiastic about things I decided to make a start on the other side. This looked so;
And I decided to start with the angled piece which is also going to need that return fold/lip. I've cut the metal and made the 90 degree folds. I need to put that lip in next. At this point I decided to call it a day feeling quite pleased with myself.
On Monday I then ordered the consmables I needed from Frost, so once they arrive and we have some nice weather I can really get cracking!

No comments:
Post a Comment